
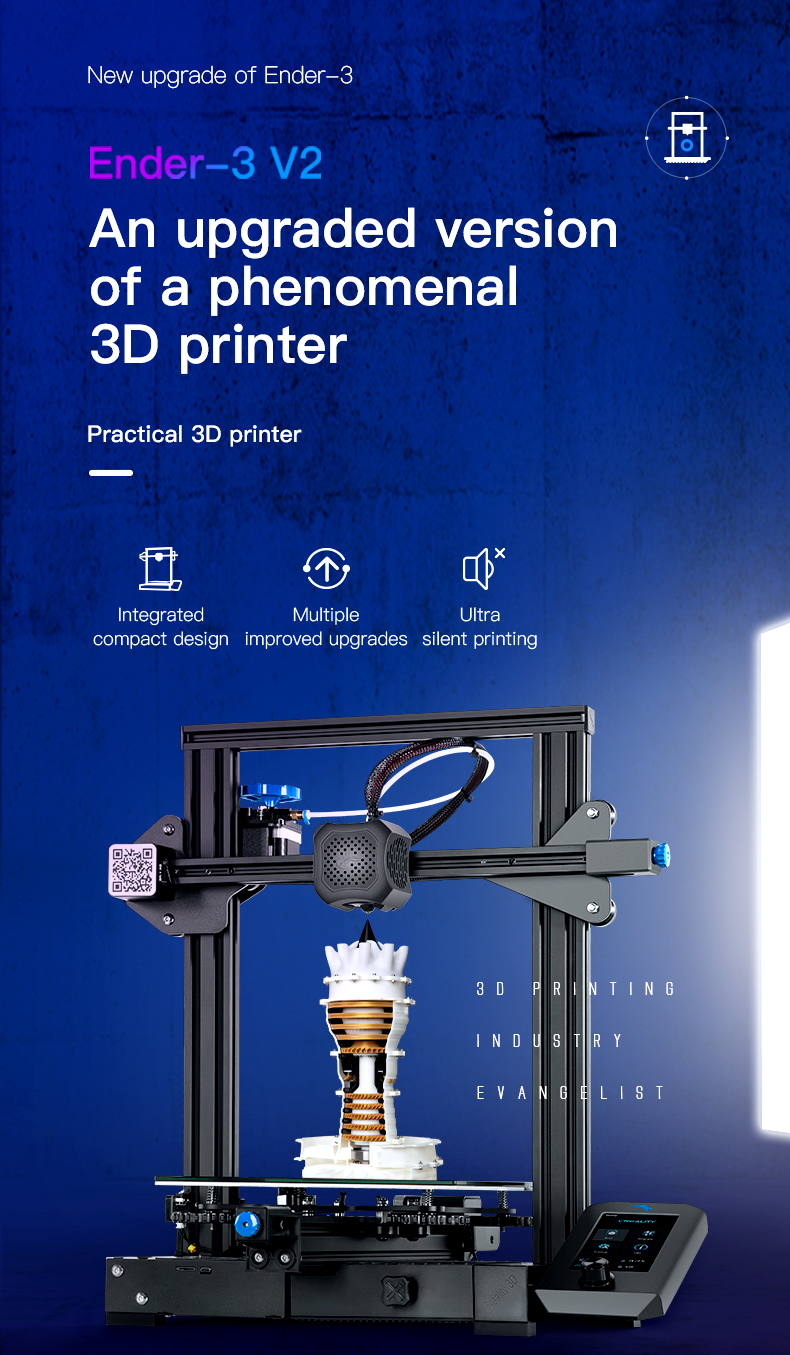
Creality Ender-3 V2 FDM 3D Printer
Creality’s Ender-3 V2 has long been one of our favorites when it comes to affordable FDM 3D printers.
Sure, it’s far from perfect. But at this lower price, it offers a decent print volume, is easy to assemble and improve, and can produce high-quality prints.
Creality sets a new baseline for budget 3D printing. It’s the same old Ender-3 3D Printer experience, improved with current hardware that includes a 32-bit mainboard, silent stepper motor drivers, a much cleaner appearance and design, plus plenty of other, smaller, touches.
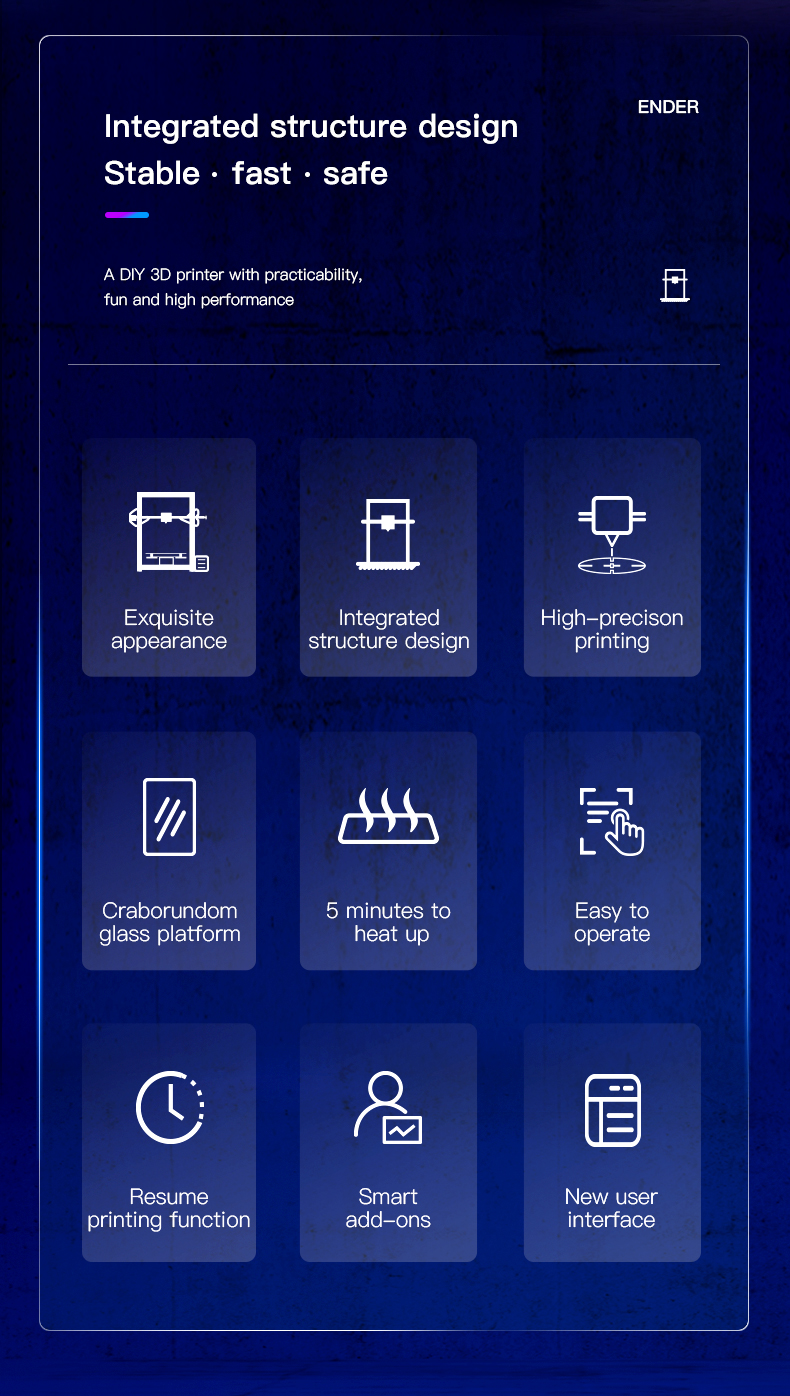
Ender-3 V2 FDM 3D Printer Features
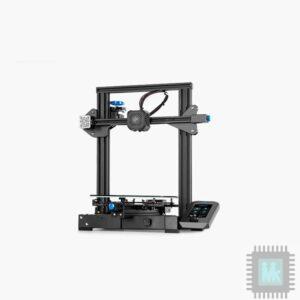
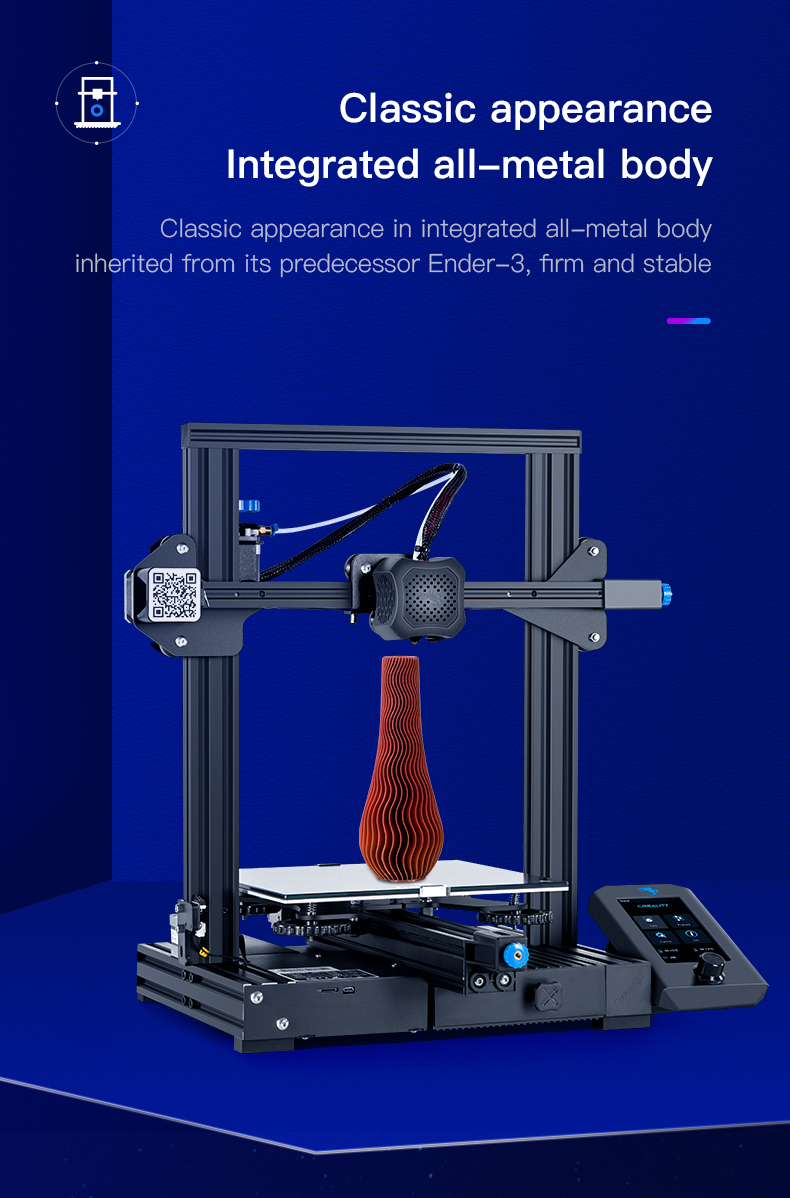
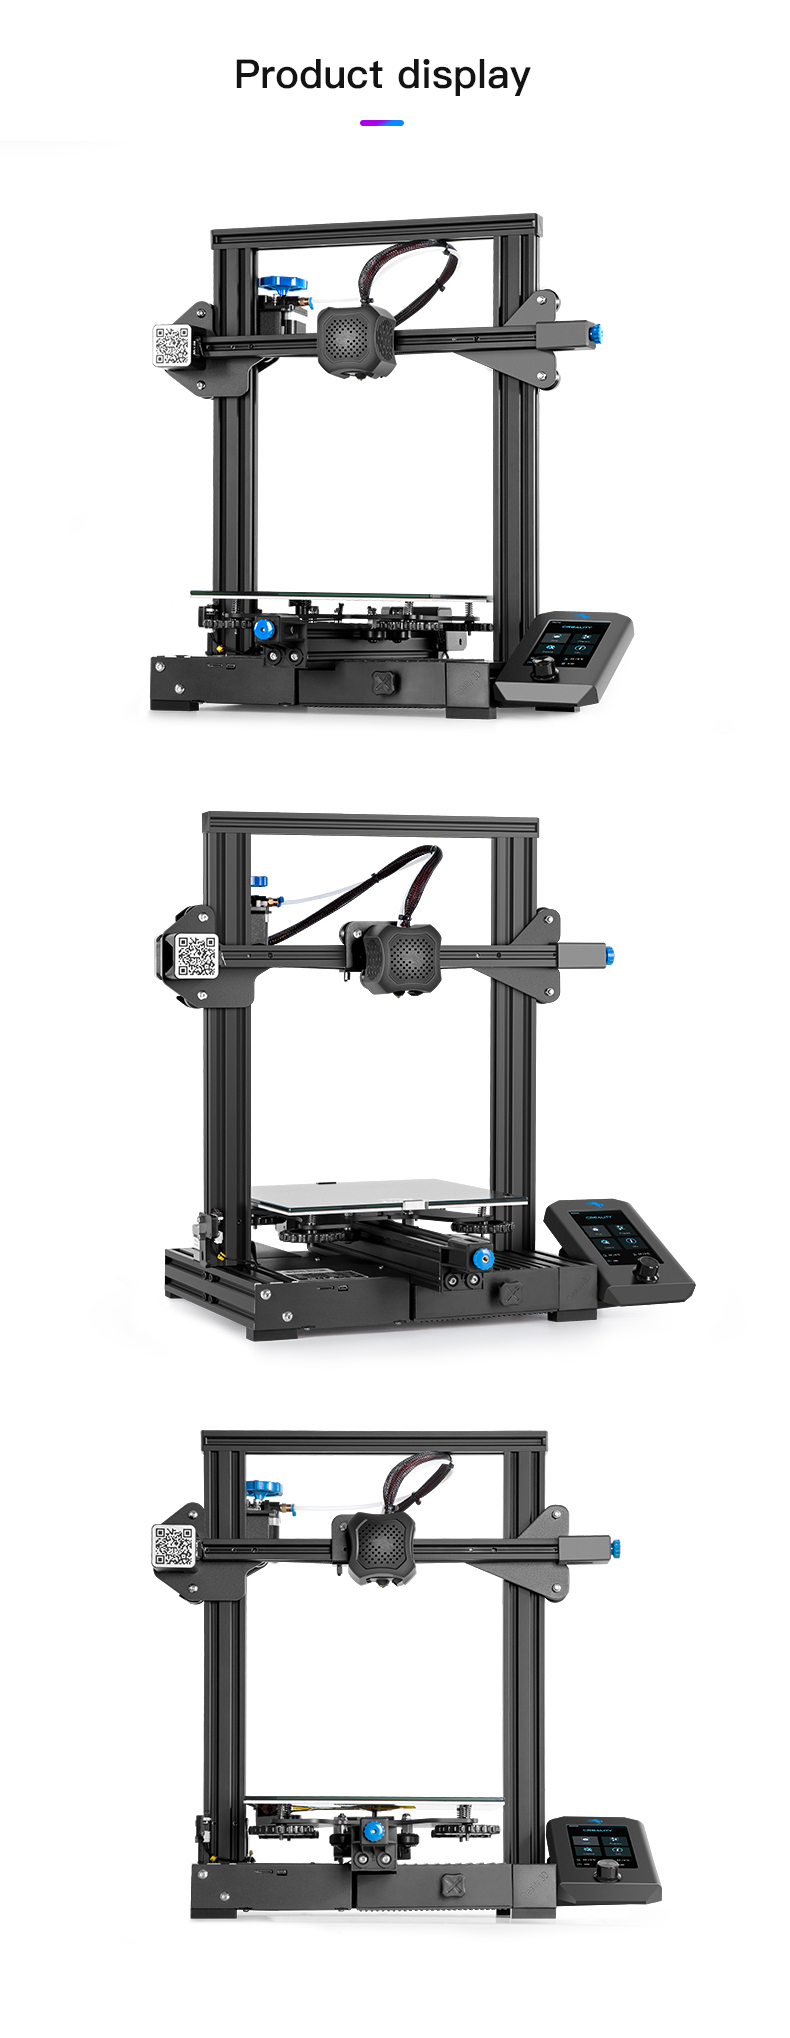
Creality Ender-3 V2 3d printer has the same delicate appearance as the DIY 3d printer kit Creality Ender-3.
And integrated all-metal body inherited from its predecessor Creality Ender-3 3d printer, firm and stable.
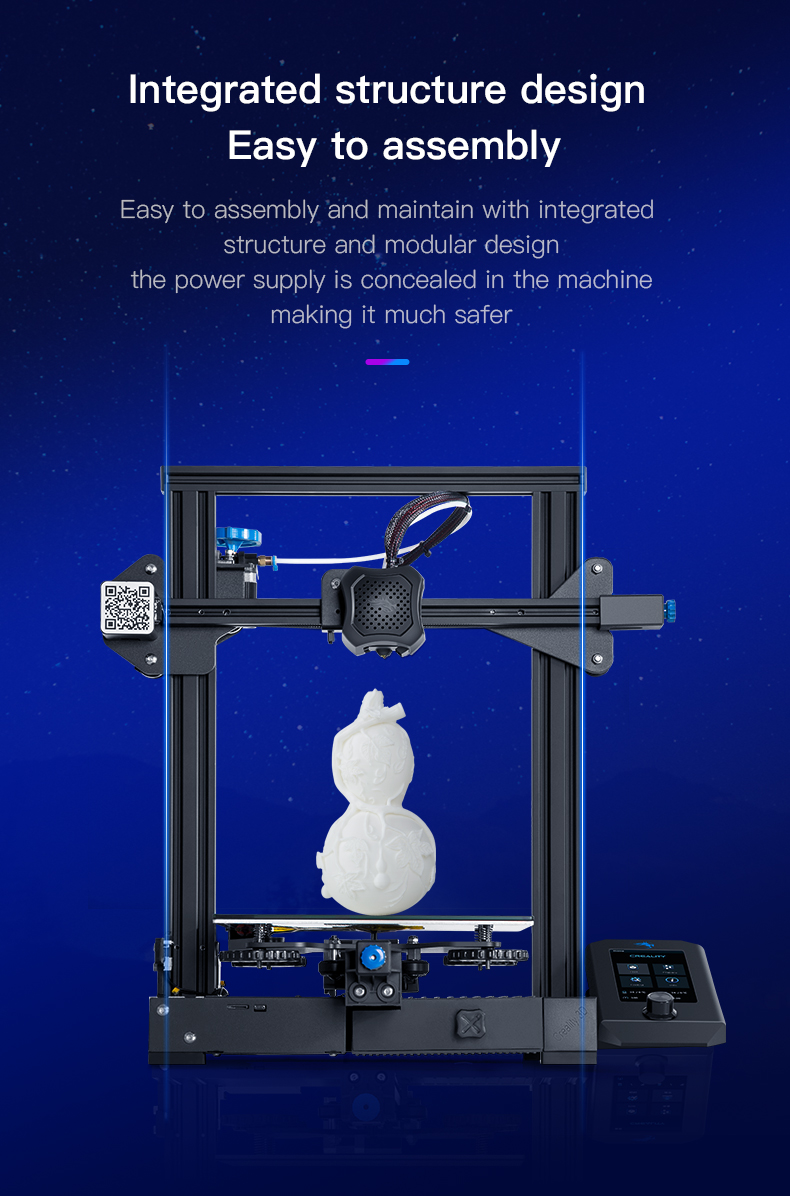
With Integrated structure and modular design, the power supply is concealed in the machine, it’s more convenient and safer for you to operate, it’s so kind to design, right?
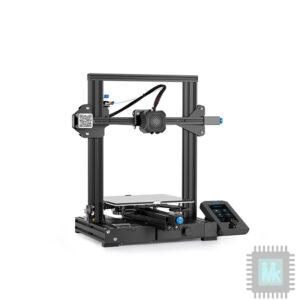
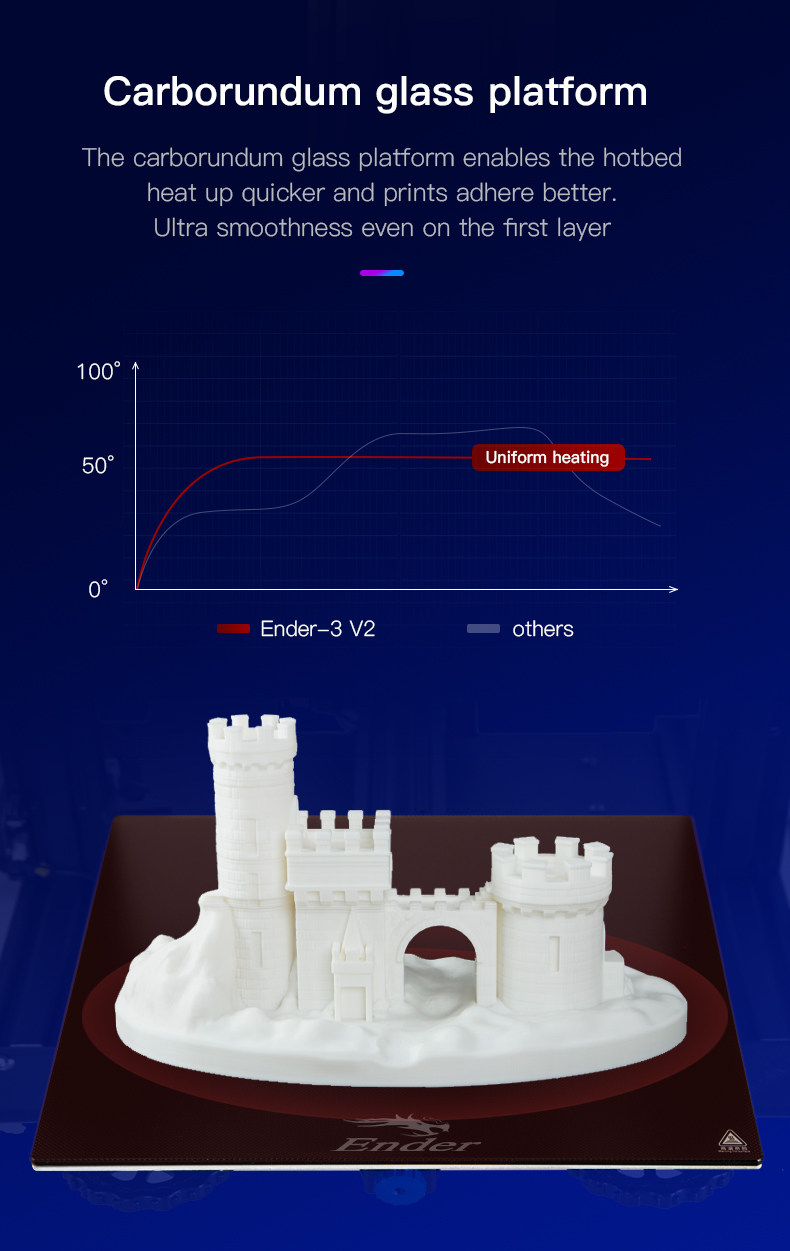
Creality Ender-3 V2 3d printer equipped with the Carborundum Glass Platform as always.
The platform enables the hotbed heat up quicker and prints adhere better without the warping. So you will see the ultra smoothness even on the first layer of the model.
Creality Ender-3 V2 3d printer is equipped with a new self-developed silent motherboard.
It has stronger anti-interference, faster and more stable motion performance, silent printing, and low decibel operation.
Therefore, when you print the model at night, please don’t worry, it will not disturb your rest.
So that not only you can have a good night, but also you can print the exquisite model.
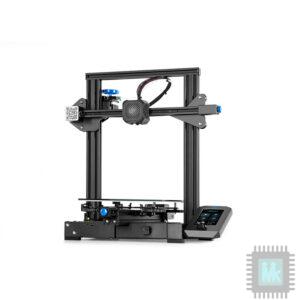
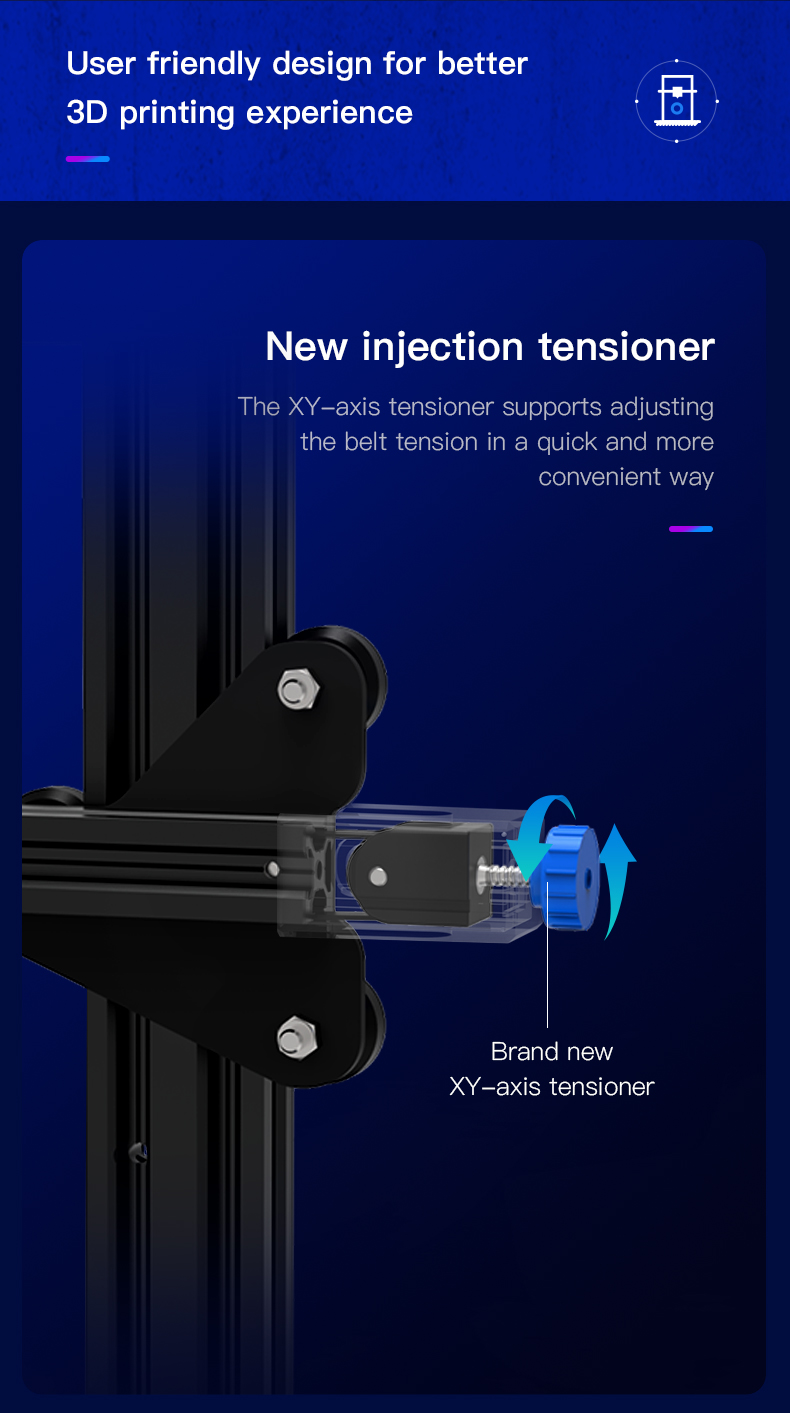
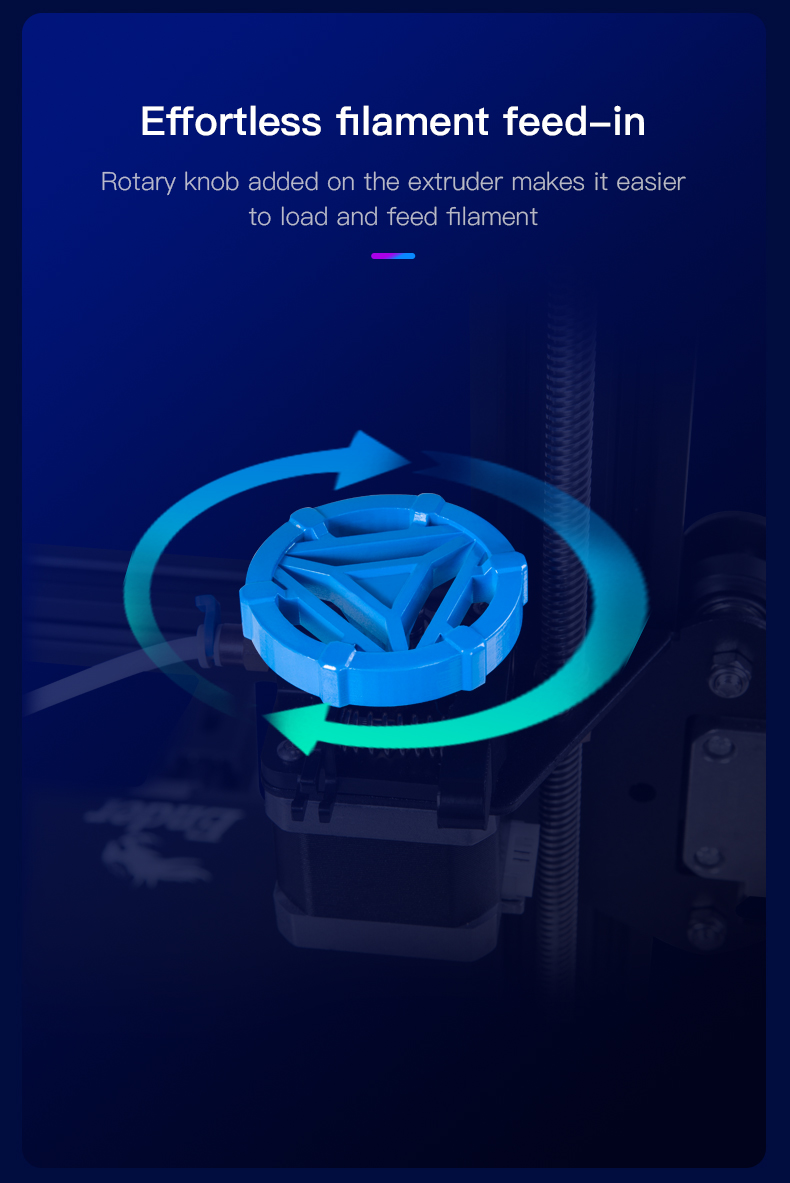
Creality adds a rotary knob on the extruder to operate conveniently.
And what’s more, we need to press the extrusion clamp to feed-in, sometimes, the extrusion clamp is easy to be broken, so the rotary knob is a very friendly design.
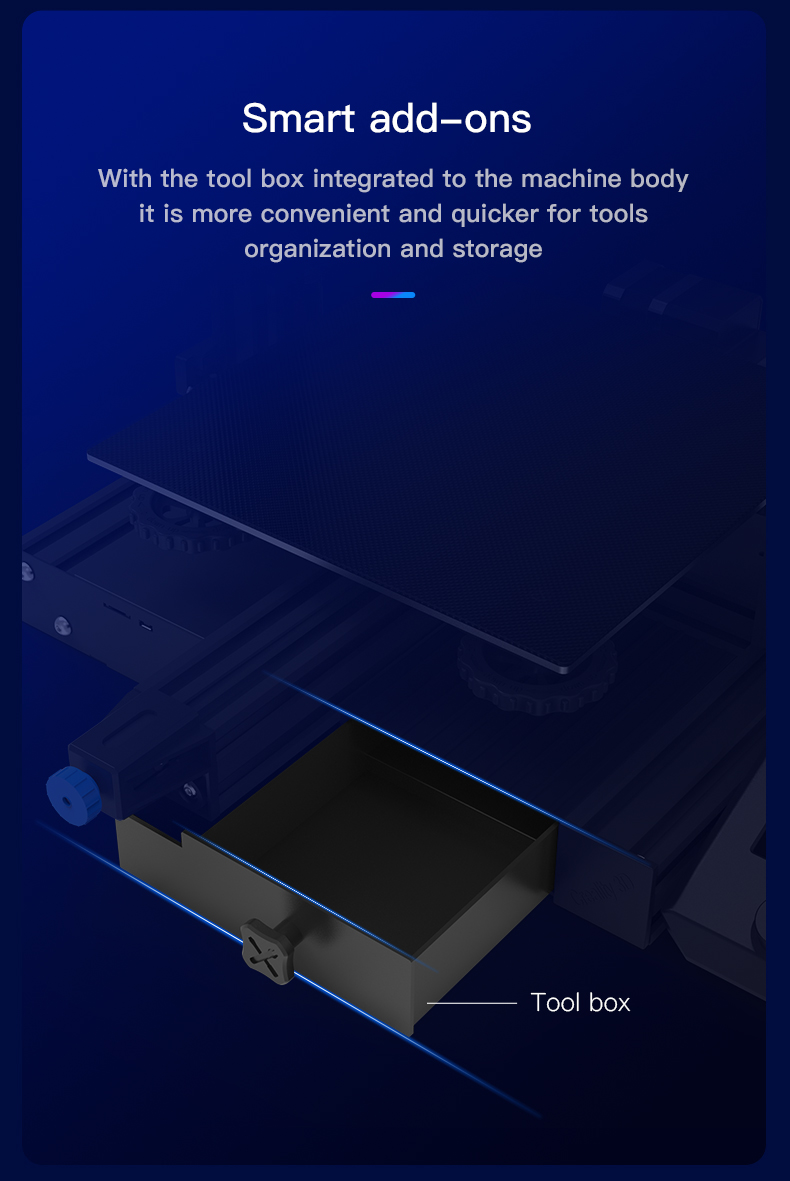
Creality Ender-3 V2 DIY 3d printer also adds the toolbox under the hotbed for better organized.
Because many people give feedback about the upgrade of the printer. They said that the screws or other small tools are often lost.
And the toolbox will be very helpful for people.
So if you have more good ideas about the printer, you can send the Creality email, maybe in the next new printer, you will find them.
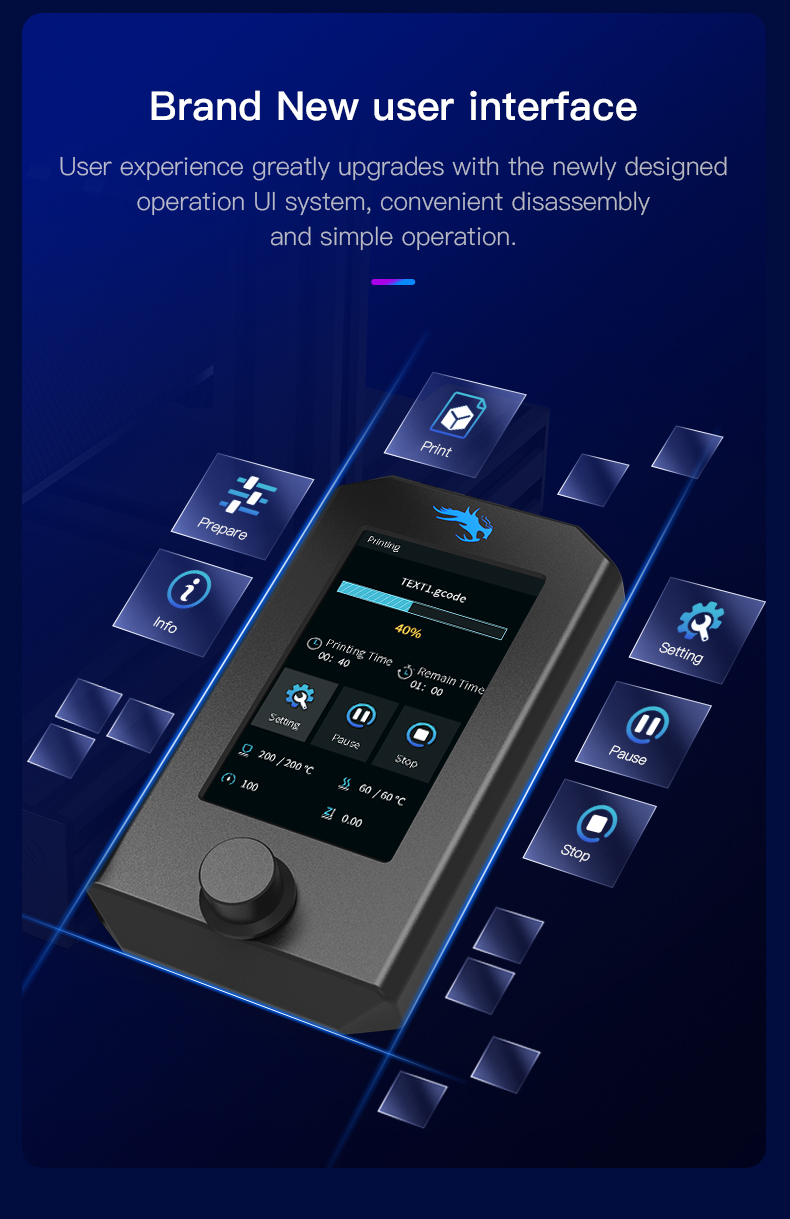
Creality Ender-3 V2 3d printer changes the previous screen into a 4.3 inch HD color screen.
And upgrades the user experience with the newly designed operation UI system. It’s simple and quick to operate.
Also, this color screen can remove easily to repair, which saves a lot of time and energy.

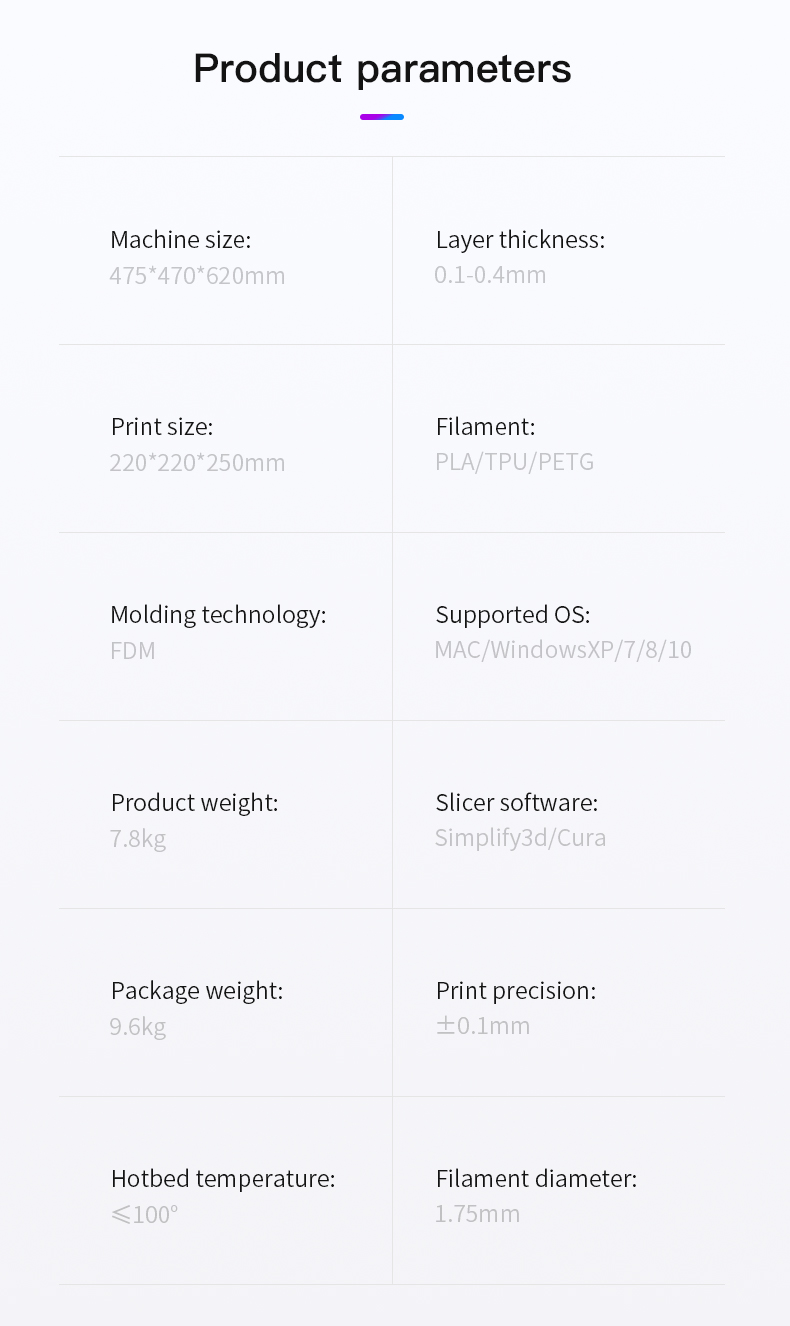
Technical Specifications
Ender-3 V2 FDM 3D Printer Properties
Modeling Technology: FDM(Fused Deposition Modeling)
Printing Size: 220x220x250mm
Filament: PLA/TPU/PETG
Working Mode: Online or SD card offline
Supported OS: MAC/WindowsXP/7/8/10
Filament Diameter: 1.75mm
Slicing Software: Simplify3d/Cura
Ender-3 V2 FDM 3D Printer Hardware
Machine Size : 475x470x620mm
Product Weight: 7.8KG
Package Weight: 9.6KG
Power Supply: Input AC 115V/230V; Output DC 24V 270W
Ender-3 V2 FDM 3D Printer Extruder Hardware
Layer Thickness: 0.1-0.4mm
Print Precision: ±0.1mm
Hotbed Temperature: ≤100°
Ender-3 V2 Articles
ALL3DP- Creality Ender 3 V2 Review: Best 3D Printer Under $300
Ender-3 VS Ender-3 Pro VS Ender-3 V2: The Differences
Creality Ender-3 V2 DIY 3D Printer -Classic Reinvention
Ender-3 V2 | A Phenomenal 3D Printer Toward the Future of Printing
Live Chat Support
Creality Support can be reached via phone, live chat, email, Forum, or through submission of a support request through their online support page.
Creality Ender-3 V2 3D Printer Wholesale & Resell
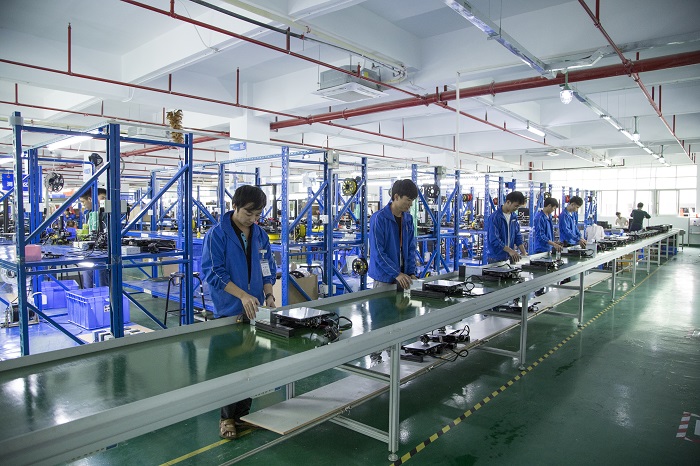
As one of the professional 3D Printer Manufacturers & Suppliers in China, Creality only sells 3d printer products like Ender-3, Ender-3 V2, Ender-3 Pro with high quality.
It is only delivered after highly tested and inspected by Creality IQC(Quality Control Inspector).
Our quality control teams keep our warehouse consistently fresh while maintaining the largest in-stock selection of wholesale 3d printer.
Creality Ender-3 V2 3D Printer has earned such a success since it’s released, as its’ high quality & acceptable price for beginners.
It is quite a product suitable for business start-ups or leading manufacturers.
Creality today offers official 3d printers at wholesale prices and provides authorized certification to sell both 3d printers and filaments.
We would like to establish a distributor relationship with people who would like to reseller our products or leading manufacturers overseas to offer 3d printing products & accessories at wholesale prices.
Fill the form below to grab the opportunity to Join Creality and become one of our partners.
FAQ
How to level the Creality Ender-3 V2 3d printer?
Here you can refer to our leveling tutorial:
Video link: https://youtu.be/GeuvoCZY4CI
How to heat the nozzle/hotbed?
Select the button of print-PLA preheating, or select the button of control-temperature-nozzle/hotbed temperature (nozzle up to 250, hotbed up to 100), and wait for the temperature to rise.
How to load filament into the Creality Ender-3 V2 3d printer?
Step1. Please turn on the machine, click the button of control, to select the button of temperature, and the nozzle temperature is setting 200 degrees Celsius.
Step 2. When waiting for the temperature to rise, please cut the front end of the consumables at a 45-degree angle and hang the filaments on the material rack.
Step 3. Press the extrusion spring and insert the filament until the nozzle along the extrusion. When the temperature is up to the target temperature, the filament will come out of the nozzle, nozzle, and complete loading the filament.
Which filaments support to print in the Creality Ender-3 V2?
It supports printing the PLA、TPU、carbon fiber and other linear filaments.
How to move the X/Y/Z/E axis separately?
In “Preparation”, select “Axis Movement” to control each axis individually, and you can also select the distance of each movement (0.1mm/1mm/10mm)
How to replace the filament in the Creality Ender-3 V2?
Please hold the nozzle at 200 degrees Celsius at first, then pinch the extrusion clamp to push the old filaments forward and pull it out quickly, while preheating the nozzle and withdraw the filament quickly and feed the new filament.

The Creality Ender-3 V2 3d printer feels pretty distinctive for the number of small and inoffensive features it introduces. It’s no stretch to think that a lot of what’s present here is the result of popular community mods, or at the suggestion of the mind-bogglingly large userbase, Creality has amassed.
32-Bit Creality Ender-3 V2 3D Printer
Rosscothep :
Looking forward to it.
These upgrades are well received. Note there is also a fully upgraded hot end with a fan duct to cool the filament on extrusion.
Bargain price for an upgraded, already awesome machine!
Josh :
Best printer for the price!Disregard those who say this is not an upgrade. How many companies look at what the community did with their product and then release the newer version with many of the mods already incorporated without raising the price point. The Ender 3 is a budget printer with an output quality which rivals the Prusa for a fraction of the cost. The stock tubing and hot-end on the Ender 3 pro have worked great for me with a simple setup and simple interface. No need to add fluff if it works. Get the Prusa Slicer and get to making!
Jeff :
Great first 3D printer
So I’ve been wanting a 3D printer for some time. Many of my colleagues at work have been building and working with them for years and I’ve always been interested but I didn’t want the first generation made of Plexi or having to cut each wire. I wanted a strong and easy to learn printer. I found it in the Ender-3 V2. I made a few errors putting it together but after re-reading the instructions I was able to get it together. The best part is that it worked well out of the box. Now even though this was my first printer I have A LOT of time waiting for the printer to come as it was a pre-order and I watched A LOT of YouTube videos on tips and tricks. With a little bit of self-education on bed leveling and slicers, a little searching on Thingiverse, and a bit of trial and error I was able to produce some nice prints.