
New enhancements:
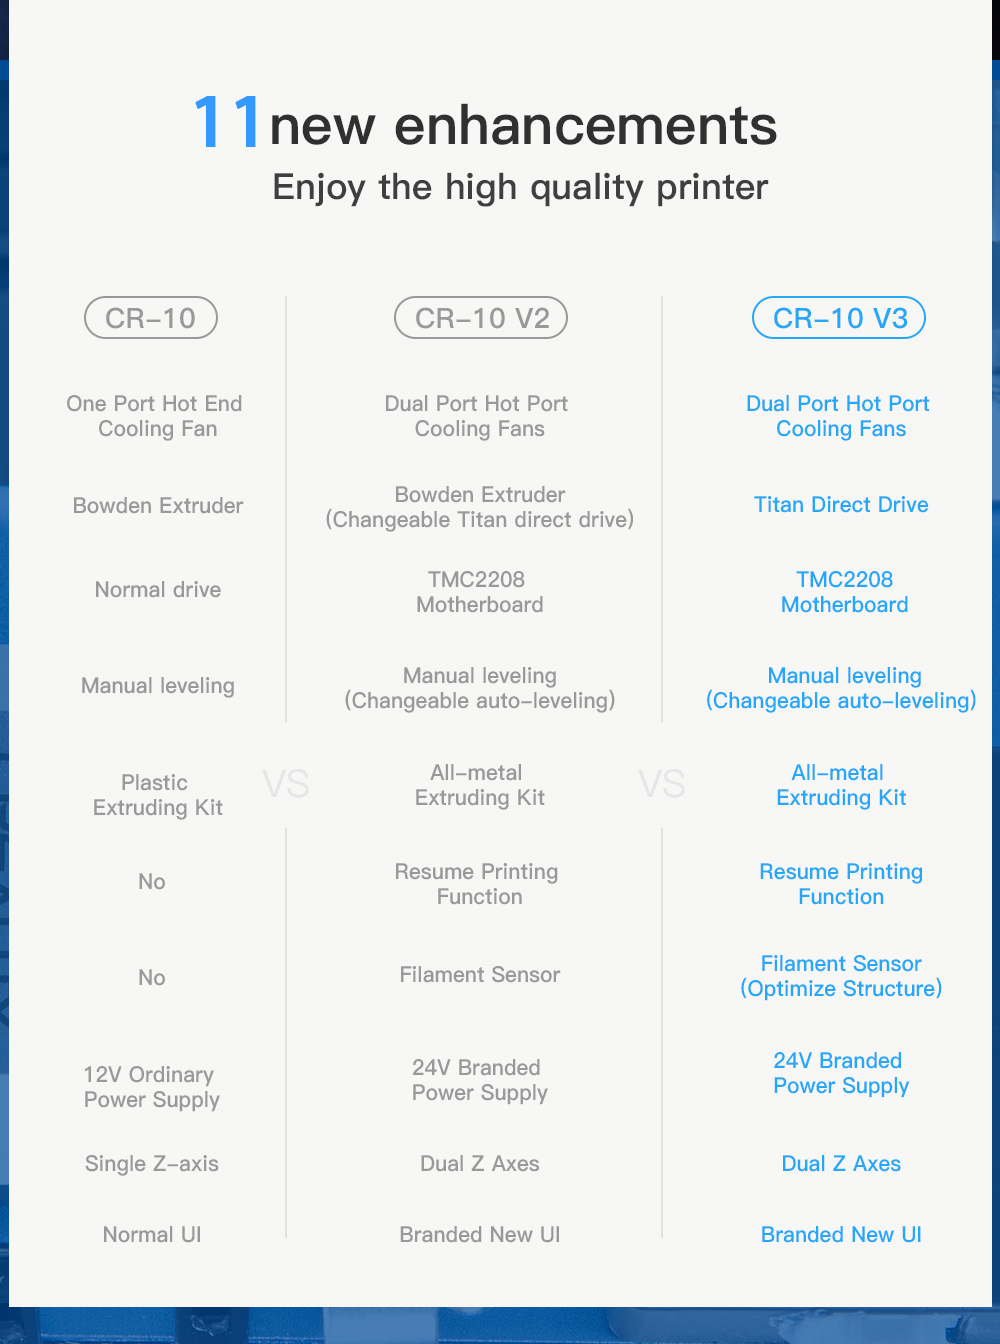
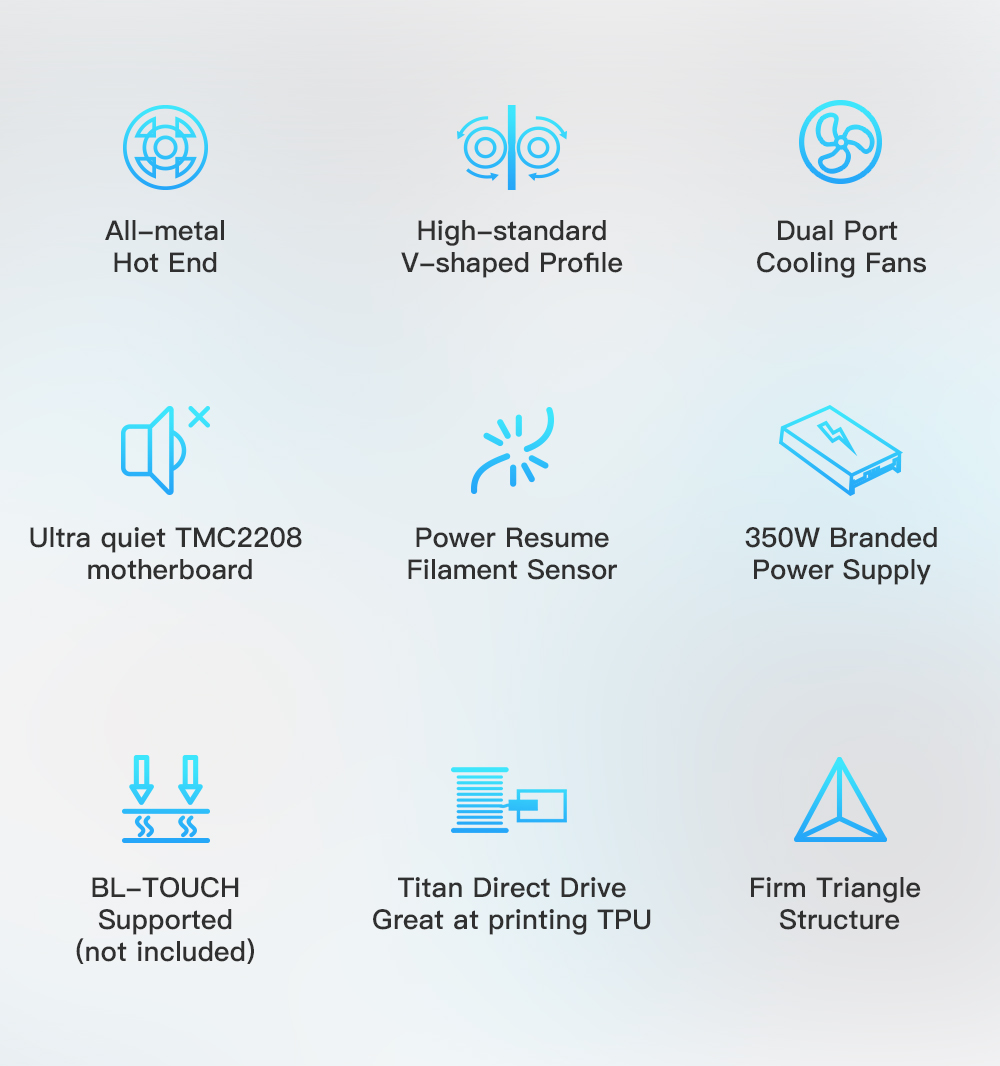
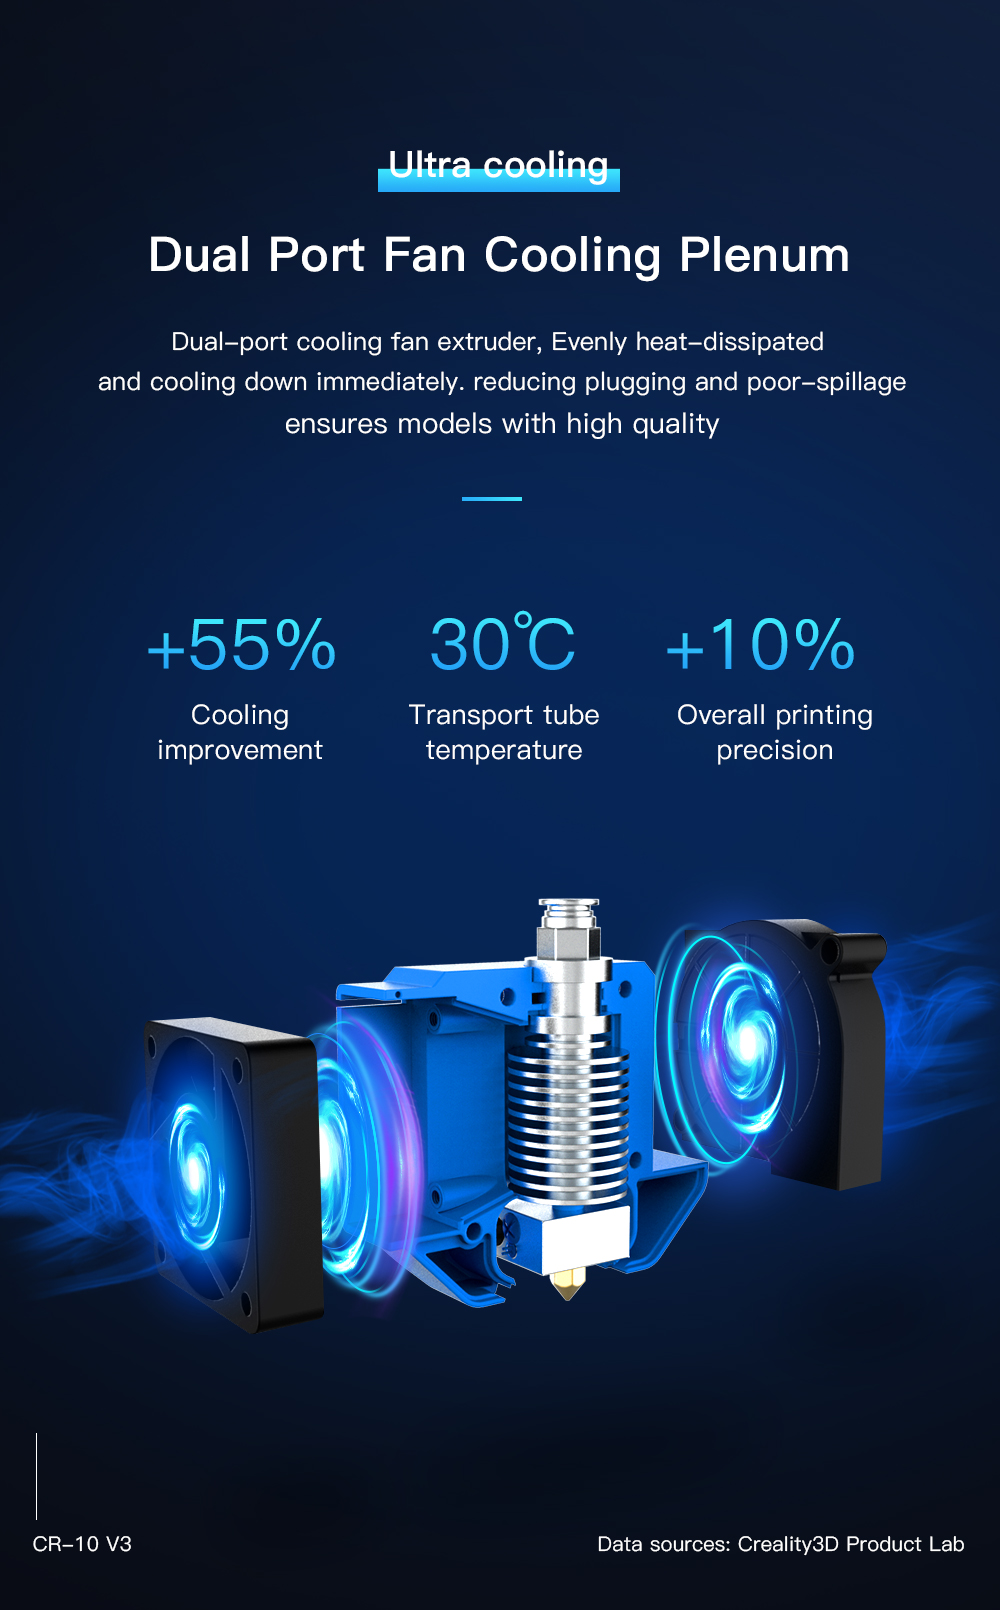
Dual Port Hot Port Cooling Fans: Dual-port cooling fan extruder. Every heat-dissipated and cooling down immediately, reducing plugging and poor-spillage ensure models with high quality.
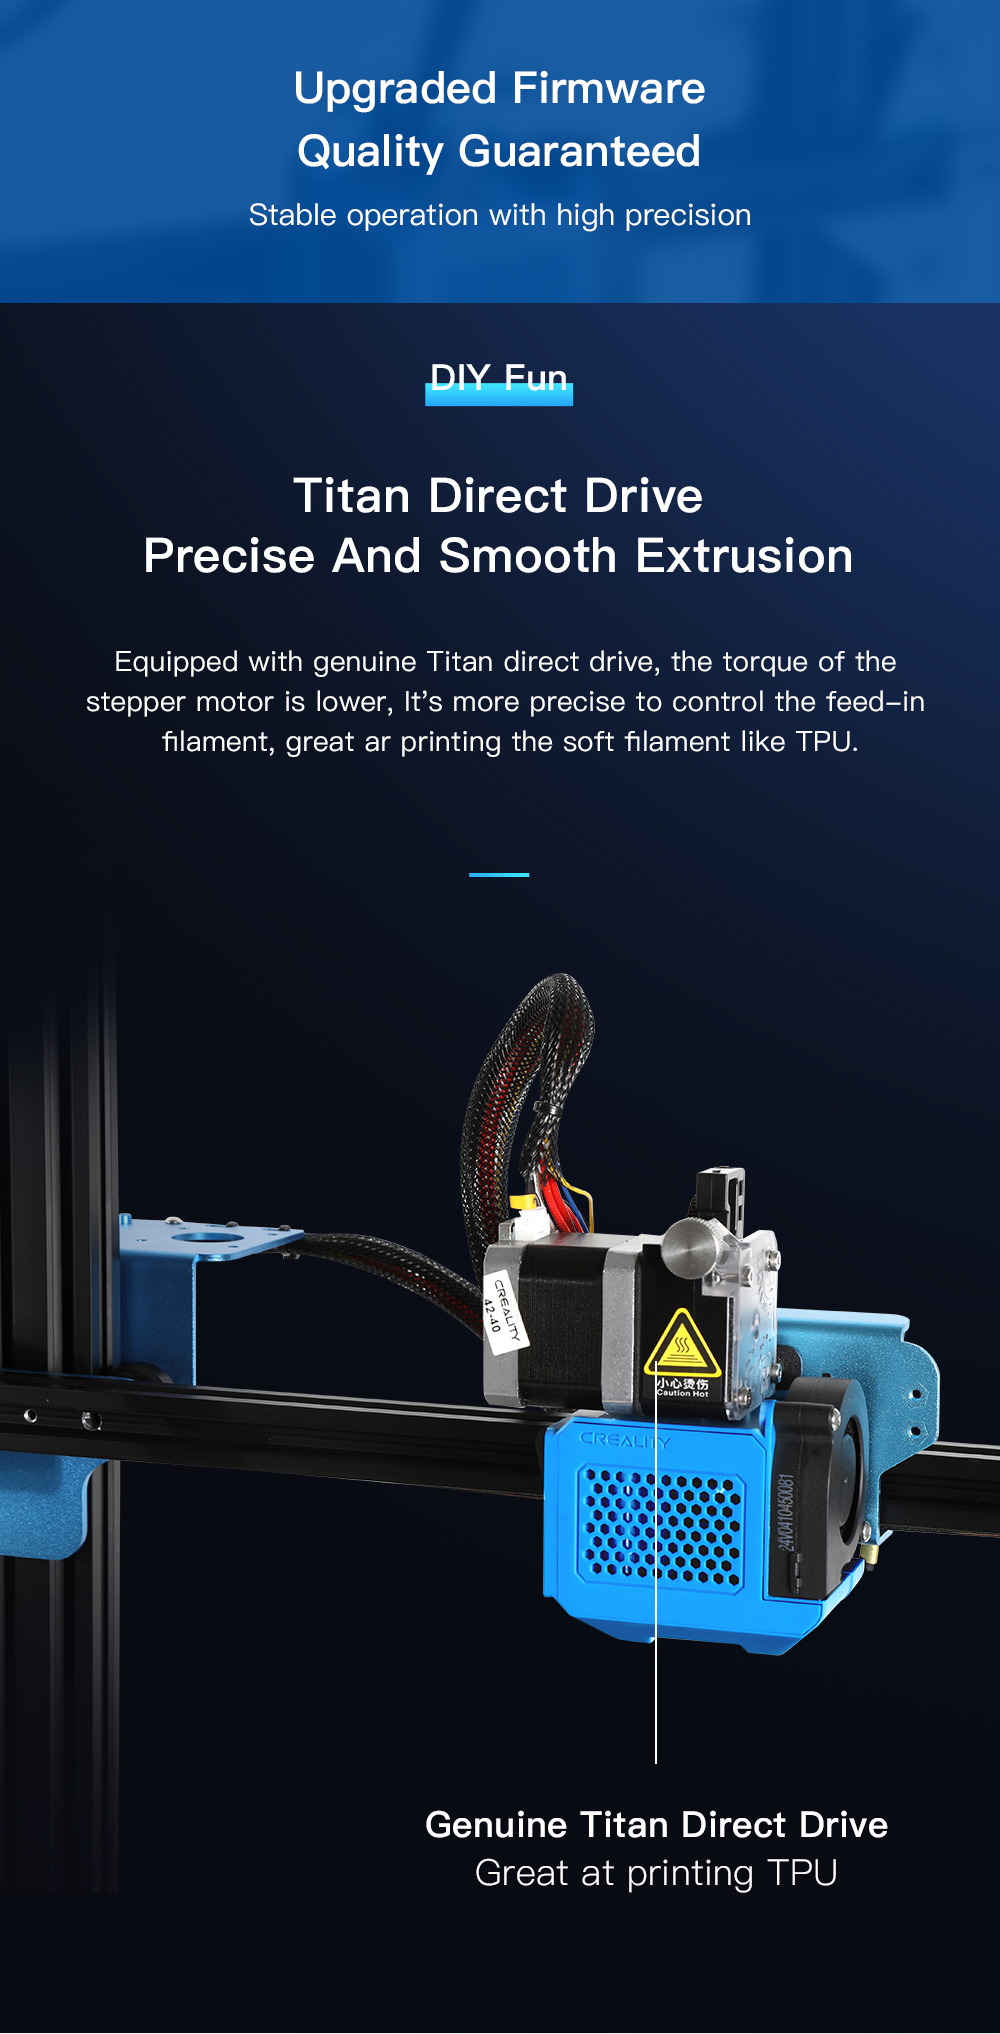
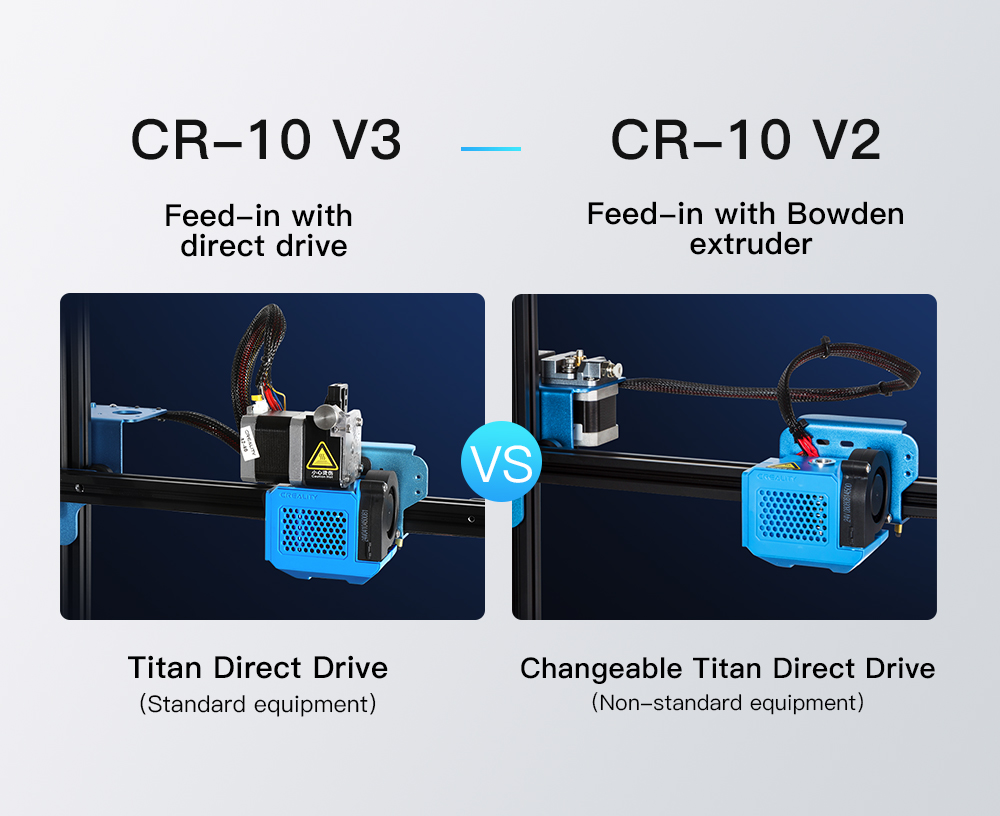
Titan Direct Drive: The 3d printer equipped with genuine Titan Direct Drive, the torque of the stepper motor is lower. Its more precise to control the feed-in filament, great at printing the soft filament like TPU.
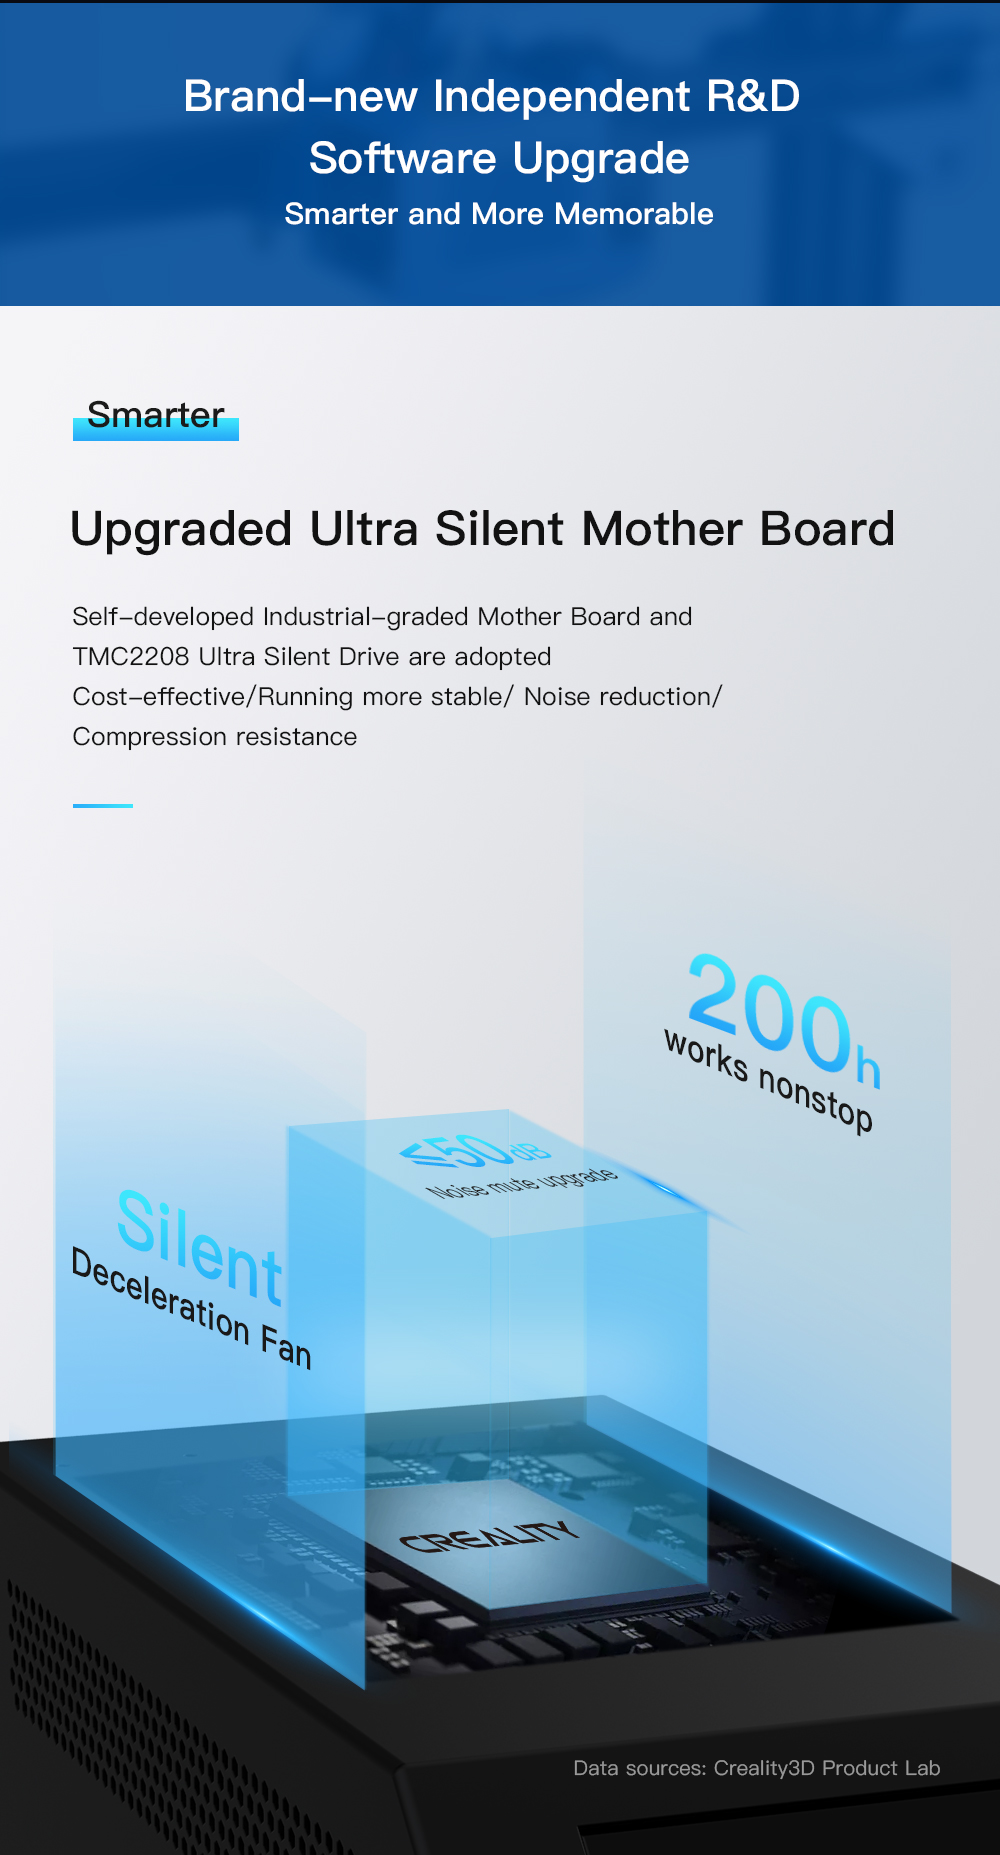
TMC2208 Motherboard: Upgraded ultra-silent motherboard, this Creality 3d printer is more cost-effective and running more stable.
Manual Leveling(Changeable auto-leveling):BL touch(Auto-Leveling Device)can be added by yourself, enjoying more fun of DIY your own Creality 3d printer
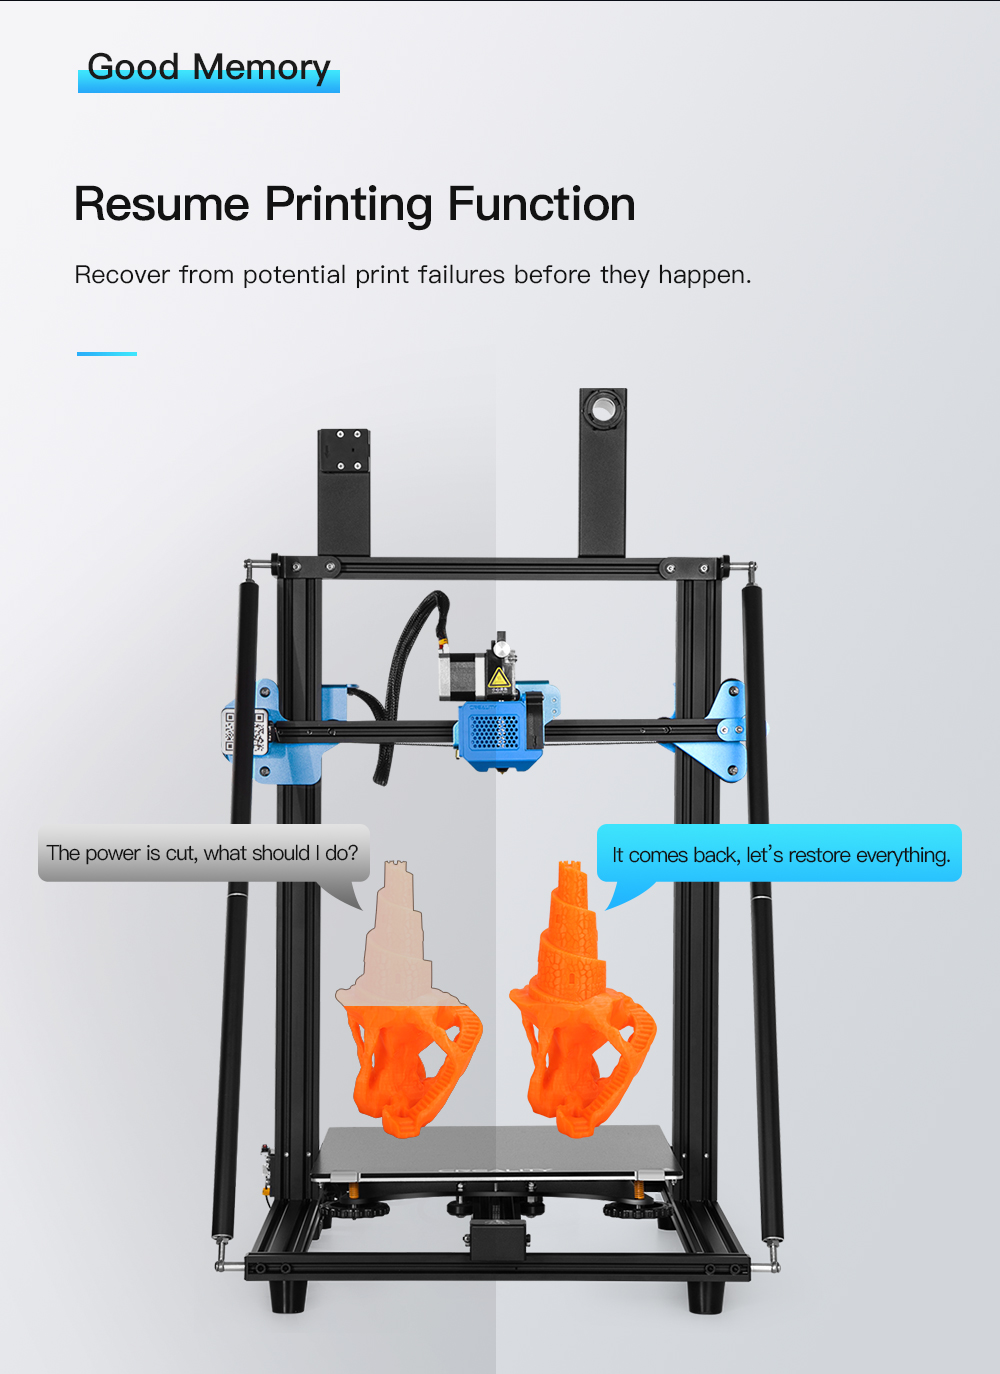
Resume Printing Function: Recover from potential print failures before they happen
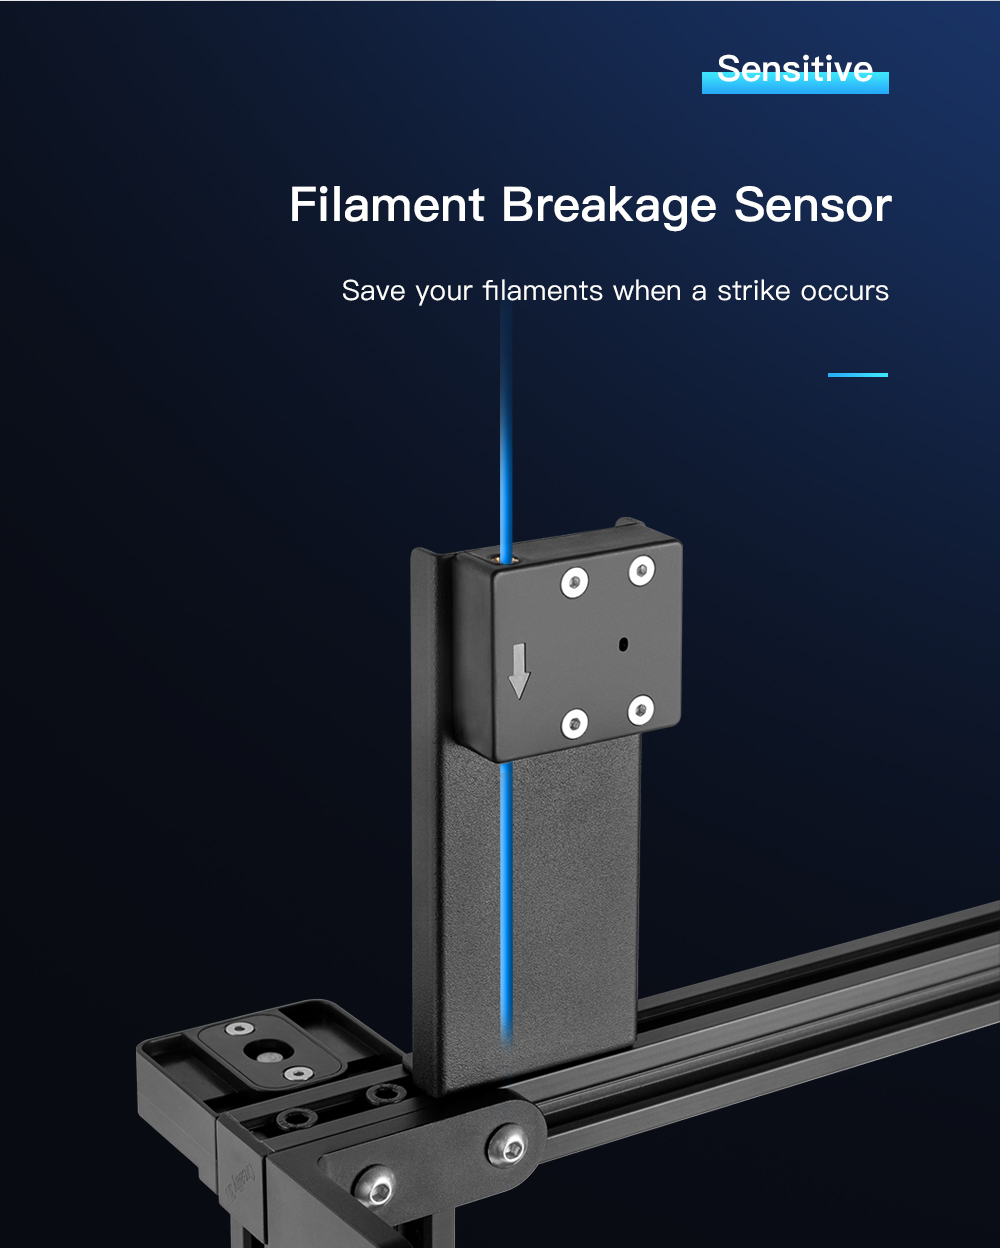
Filament Sensor(Optimize Structure): This design in Creality 3d printer will save your filaments when a strike occurs.
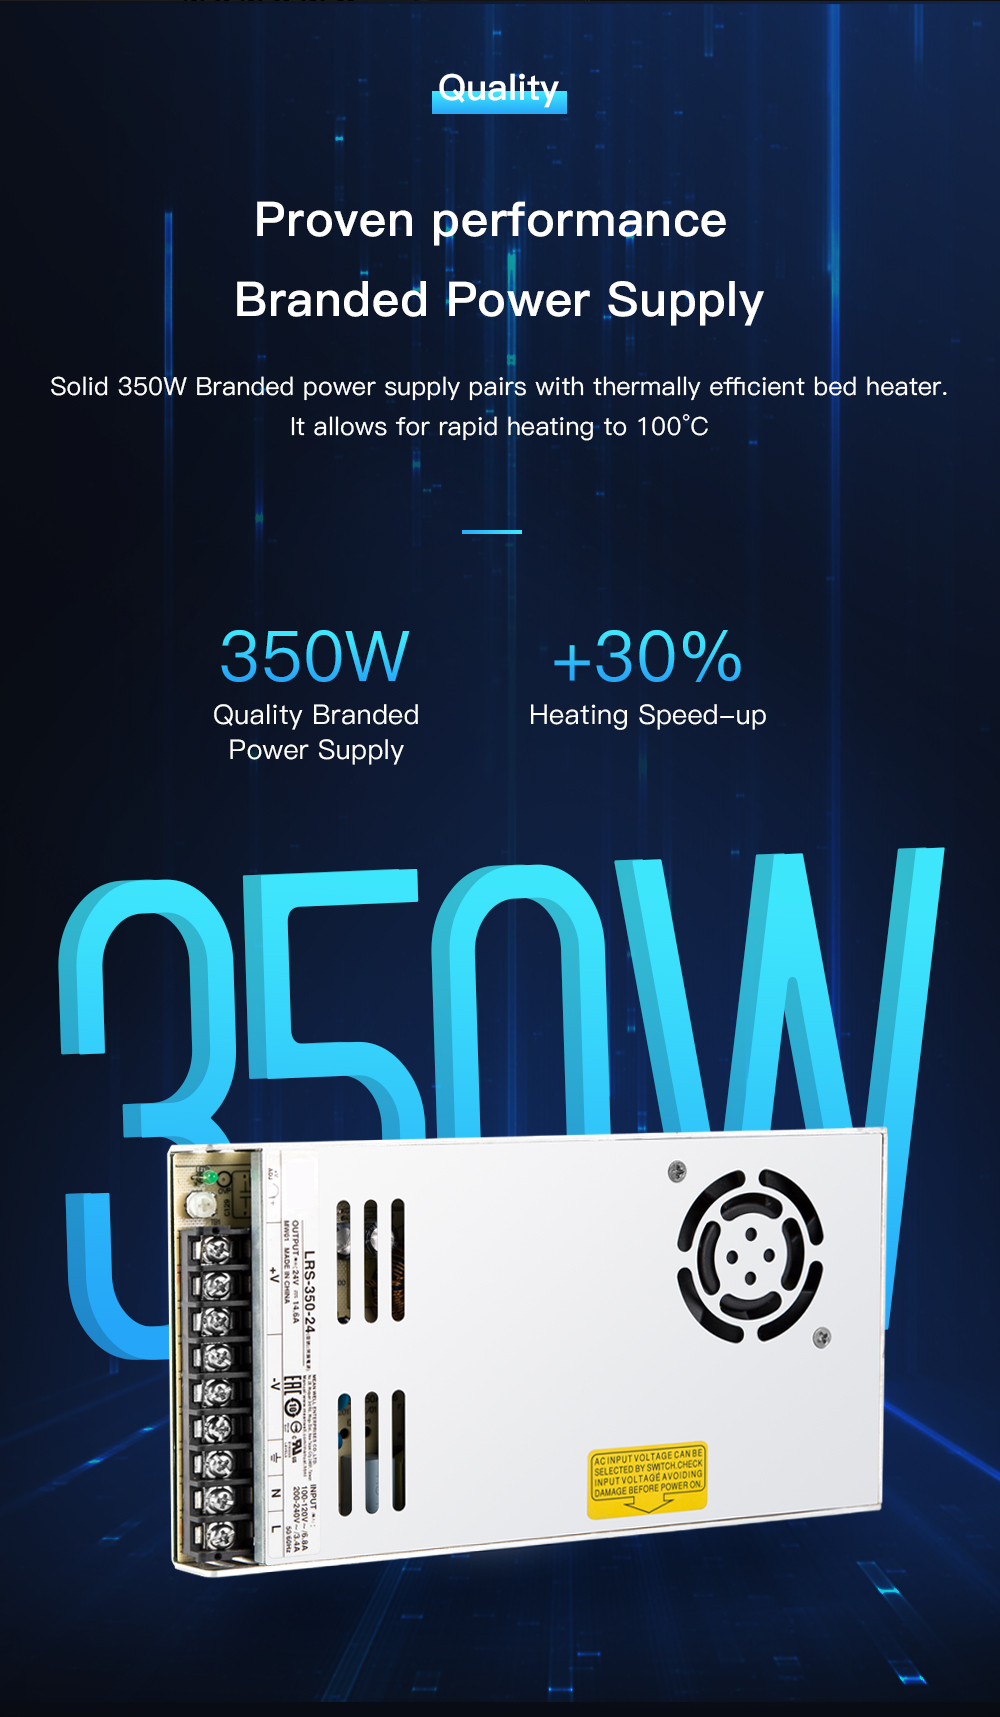
24V Branded Power Supply: The Creality CR-10 V3 3D printer, solid 350W branded power supply pairs with thermally efficient bed heater. It allows for rapid heating to 100℃.
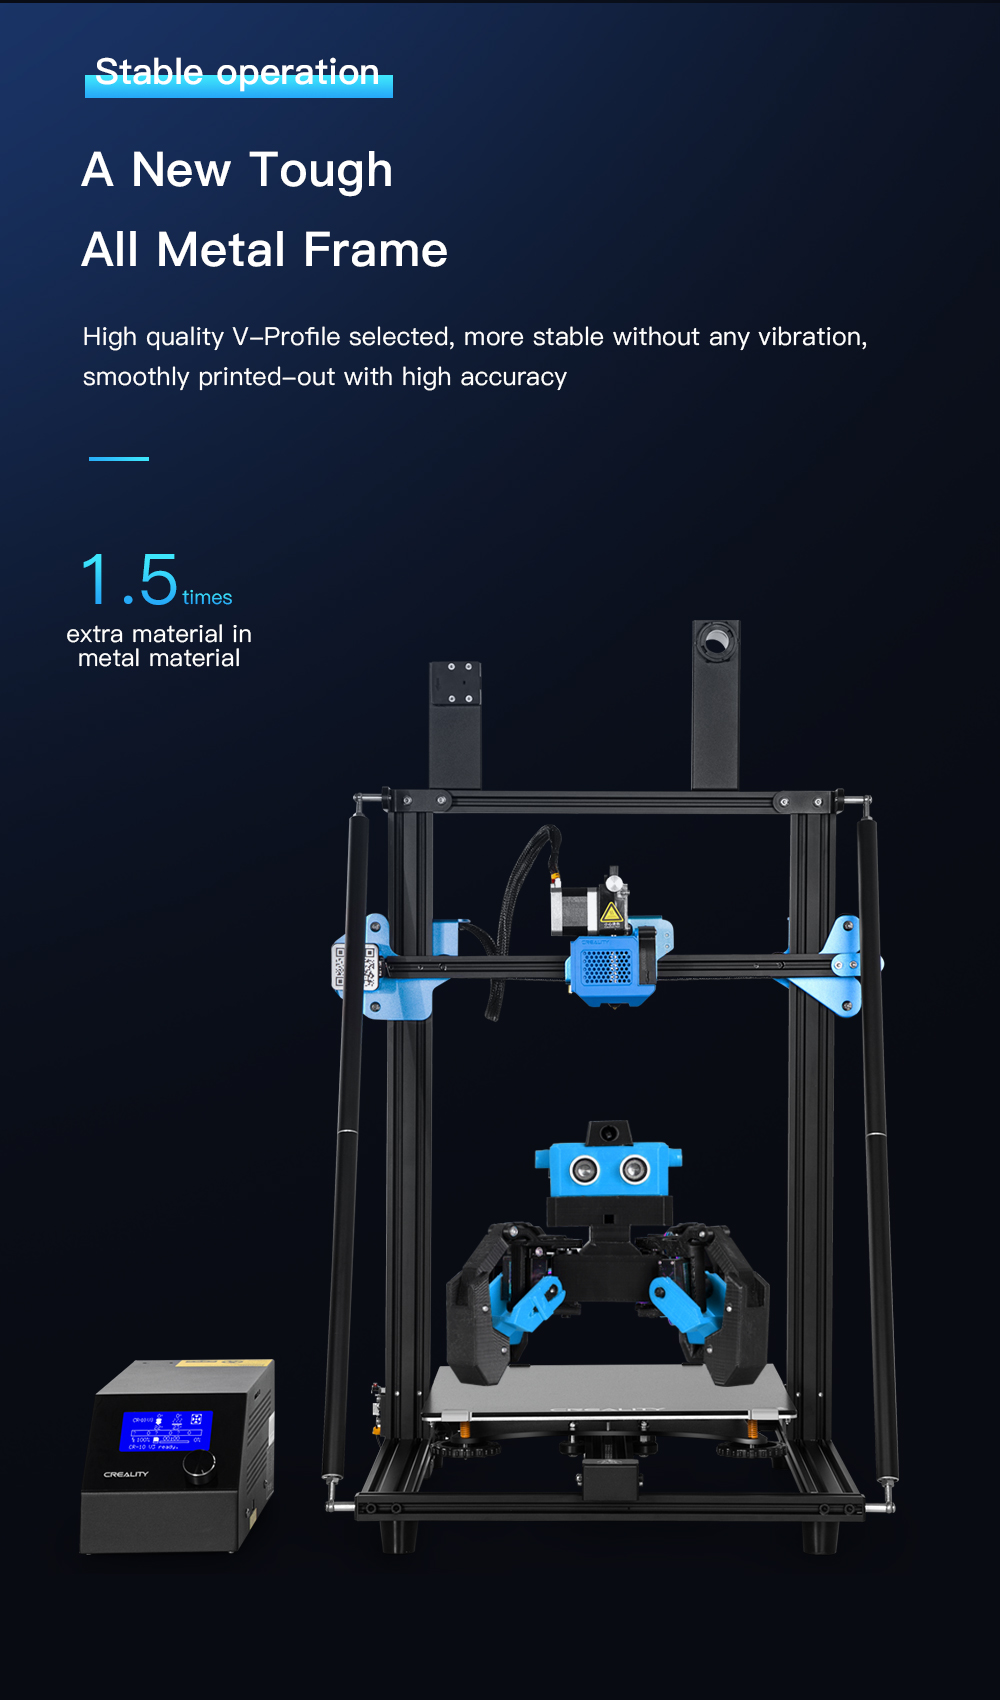
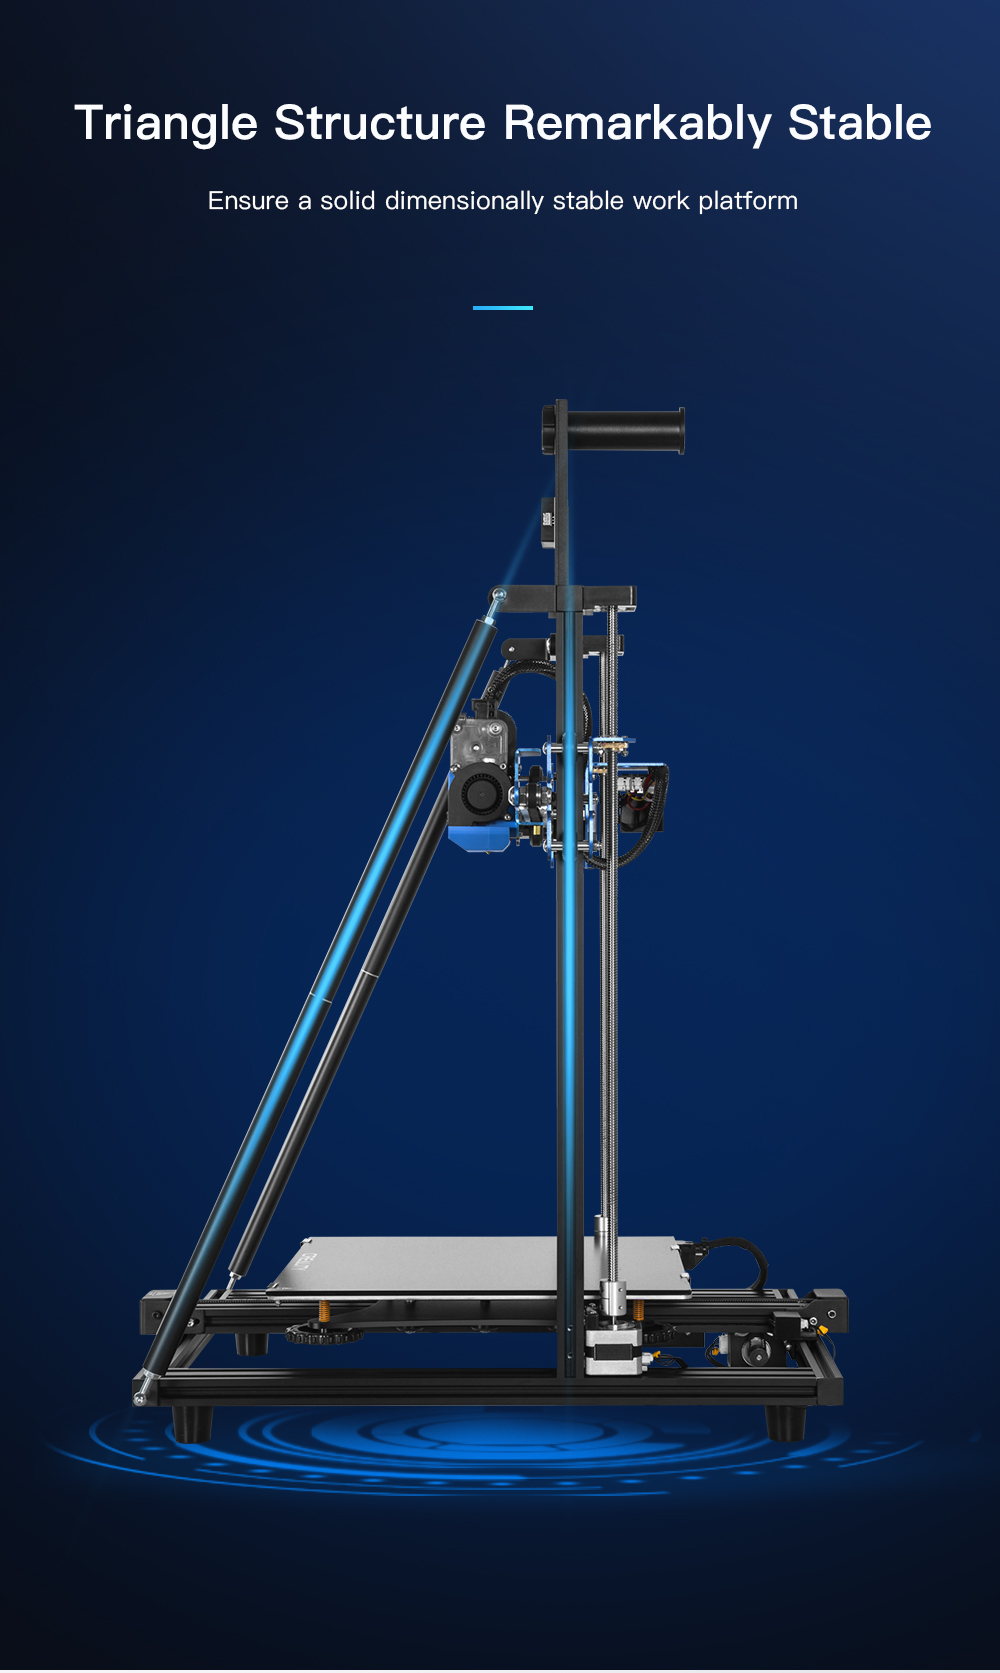
Dual Z Axes
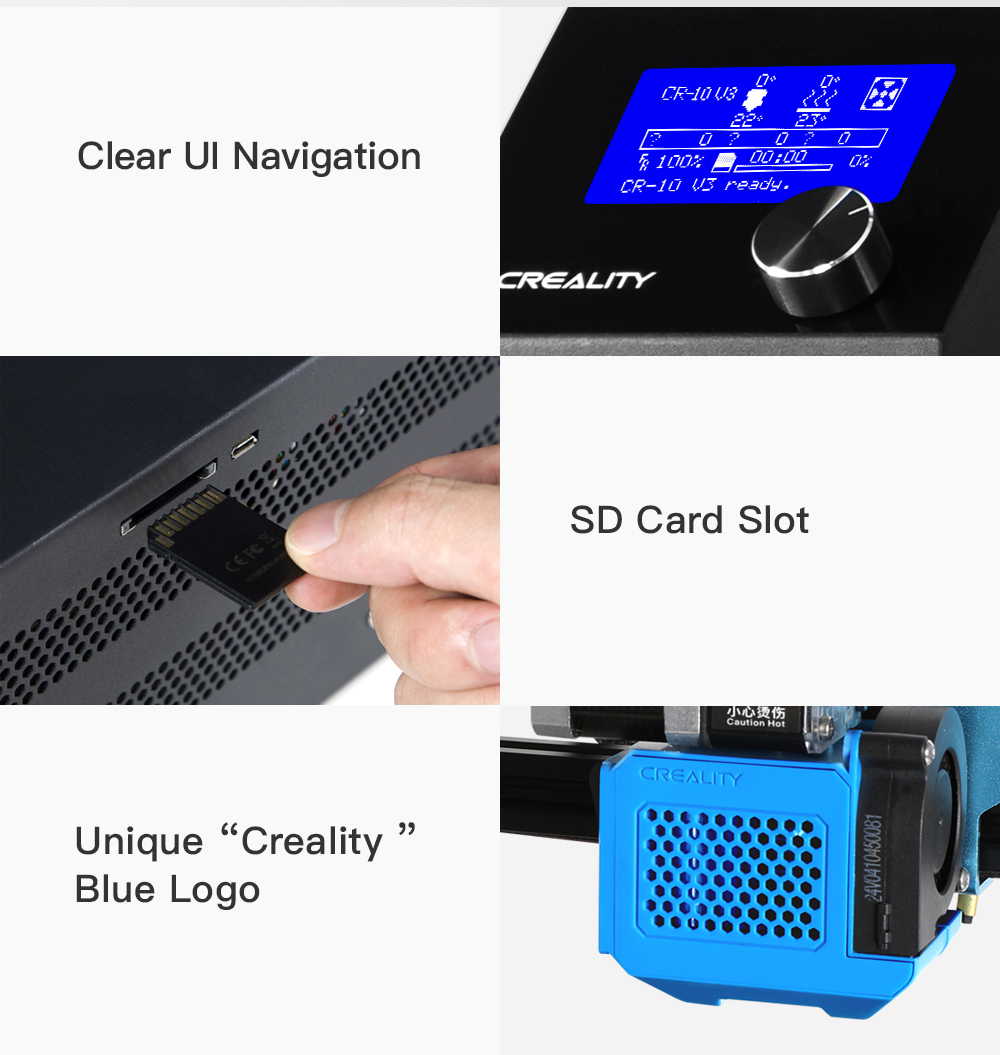
Branded New UI

I’m not an expert 3D printer by any means, only having a hand-me-down monoprice unit from a good friend. After spending the better part of a year learning to use that machine, I decided it was time to upgrade. I had been bouncing around between Prusa and Artillery and just happened to be browsing this site when the V3 (aka Titan V2 according to the manual) was made available and managed to place an order before it sold out.
My unit shipped a couple of days later and took about a week to cross the country. UPS dropped it (literally) at my door, but thankfully it made it okay. I did have to tighten one bolt because the mounting plate was loose. You can search YouTube for that if you need it.
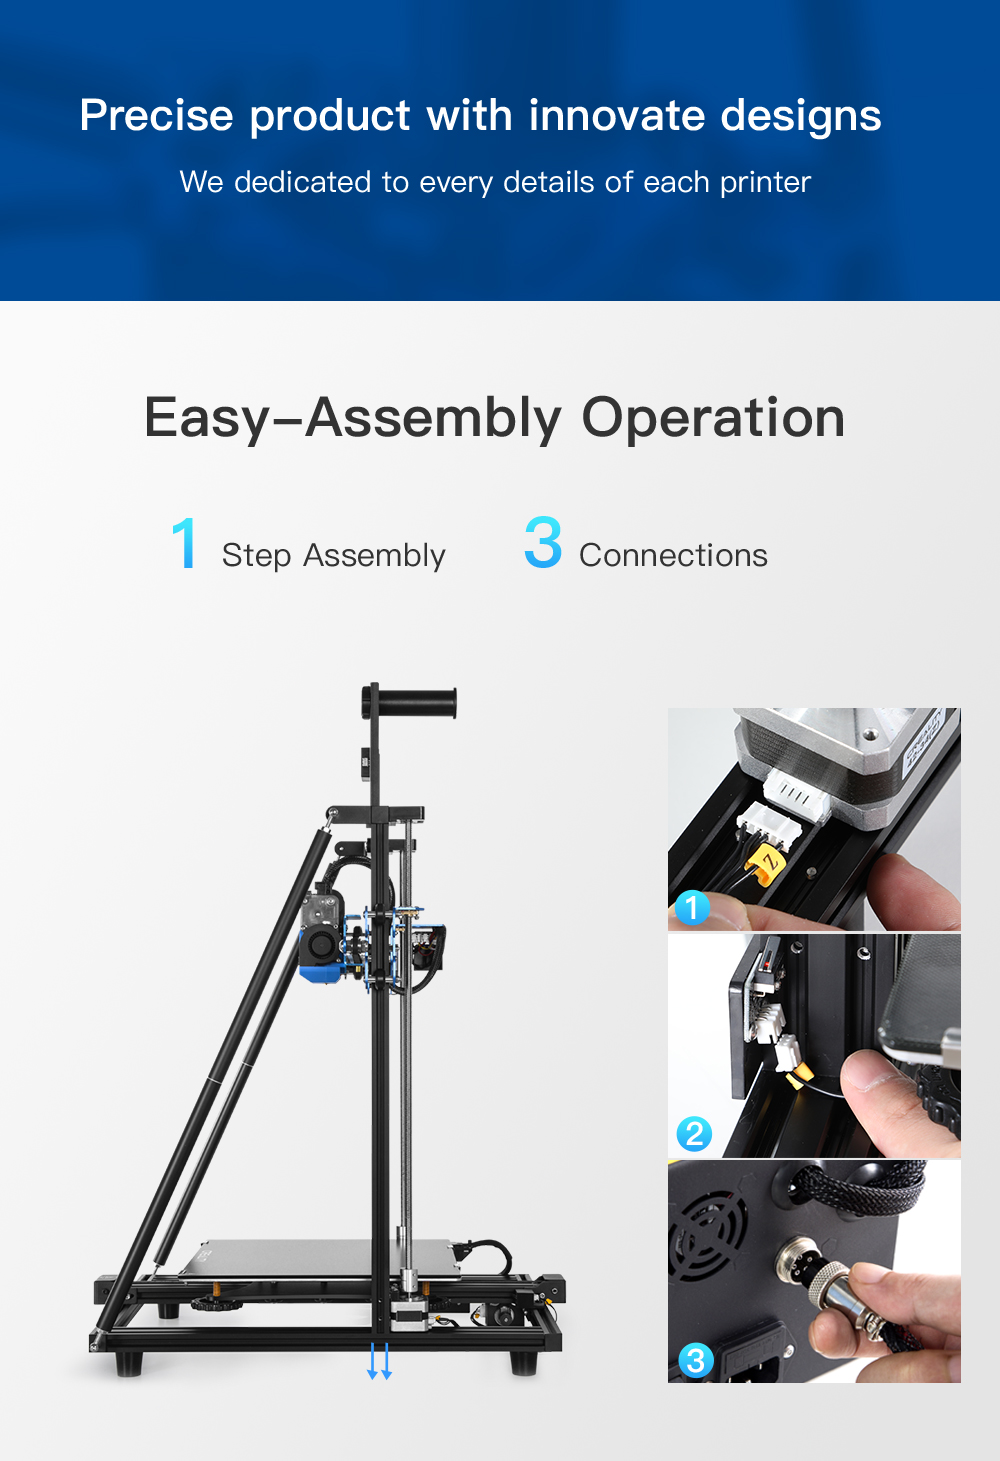
It went together pretty easily. I didn’t have any trouble following the (minimal) manual that comes with it. All of the parts were very neatly grouped into bags and every single tool you need to assemble it is included.
Thus far, I’ve only printed a couple of things, and while I certainly need to dial in some settings, I’m blown away by the results so far. The thing is so quiet. The fan in the control box is louder than the printer itself. I found it a little tricky getting the filament into the extruder for the first time, being unfamiliar with the E3D extruder. Once I figured out to unscrew the bolt, relieving pressure on the spring so I could manually push the black plastic piece in the direction of the arrow, it was easy. I’m using Hatchbox True White PLA and have had nothing but success. Again, I’m no expert, this is only my second printer and the first I actually purchased for myself. I don’t have much to go by, but thus far I’m happy.
It took me a couple of hours to put the v3 together – I’m graduating from an Ender3 – so I’m quite pleased with the increase in area that I can now print. The v3 is considerably quieter than the Ender 3. I’m quite pleased with the entire experience. The video showing assembly helped greatly!
What I’m looking for is something similar for the addition of the BL-Touch which is an upgrade I’m extremely interested in. I’ve seen the video for the v2. Where can I get the FW that supports BL-Touch? Where do I connect the BL-Touch to the assembly? A video similar to the v2 would help greatly.
Thanks!